
Your mini bar can feel calm and stylish, not cluttered and chaotic. A few smart choices can make every bottle easy to grab and every glass easy to spot.
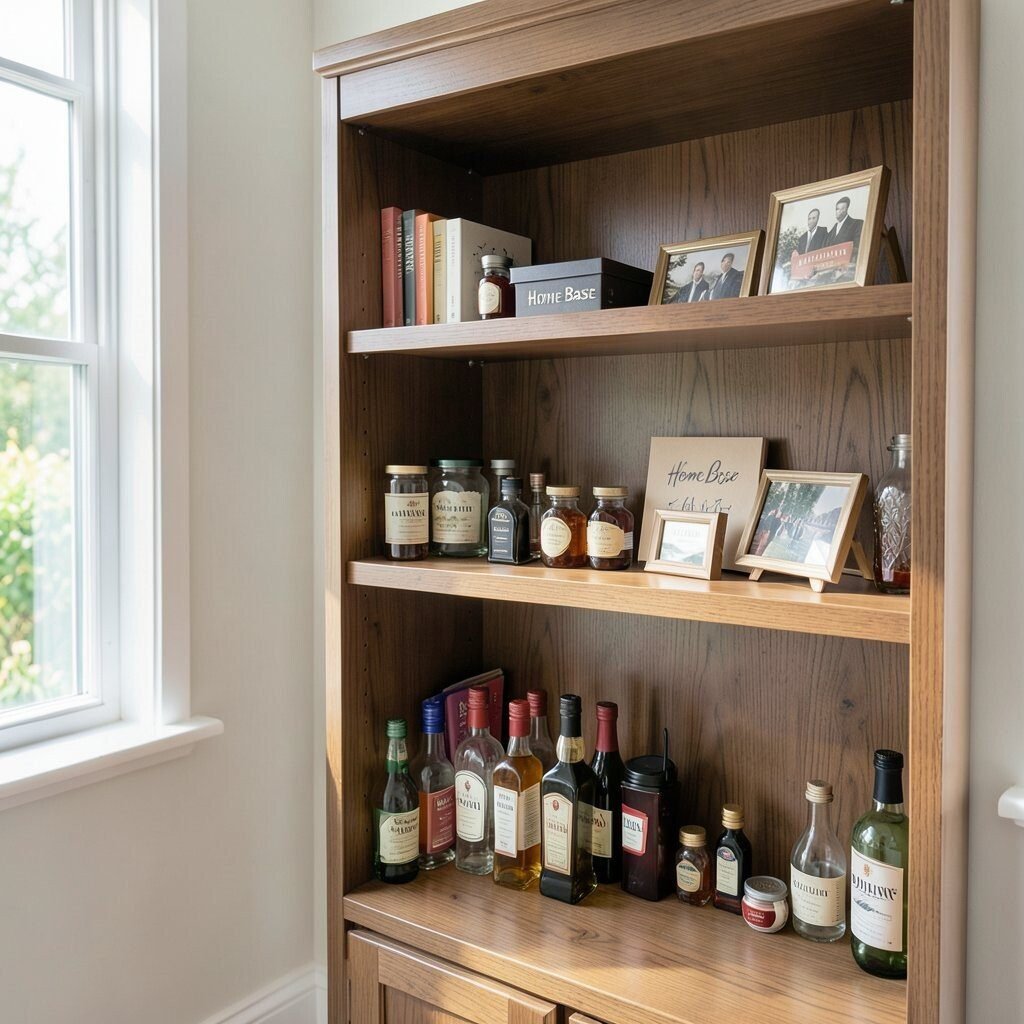
1. Create a “Home Base” Shelf Zone

Pick one sturdy shelf to be the start point for everything you use. Keep it at about eye level so you never end up rummaging through darker corners.
Clear off the area and wipe it down, then group items by what you reach for most often. When the bottles, cups, and tools share one zone, your space looks intentional and feels faster to use.
2. Use a Height-Ready Bottle Layout

Arrange bottles by height so the taller ones stand at the back and the shorter ones sit forward. From the side, your bar will look tidy instead of piled.
Many people switch to this style because it turns a “stack” into a display. Try mixing a few matching labels or bottle shapes for a neat look, then add practical spacing so nothing falls when you pull one out.
For personalization, rotate seasonal favorites so the front always shows what you want to serve first. If you’re working with limited funds, use simple shelf risers made from wood scraps or inexpensive acrylic steps.
3. Add a Tiered Tray for Small Tools
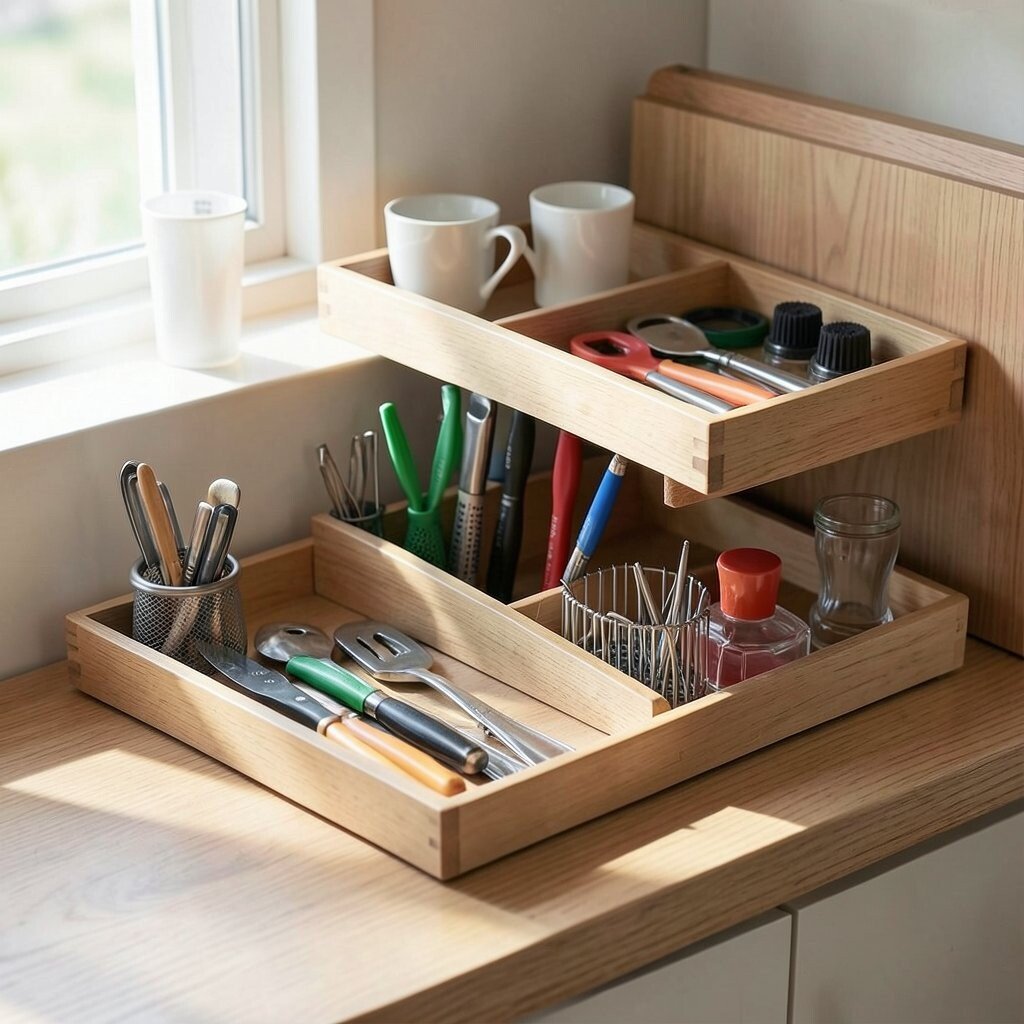
Small things like corkscrews, pour spouts, and stir sticks vanish fast in drawers. A tiered tray brings them up where your hands can find them.
Choose a shallow tray setup so bottles stay visible while tools stay contained. This is especially helpful for hosting, since you can tidy in seconds before guests arrive.
To personalize, use one tier for “serving” items and another for “quick fixes” like bottle openers or spare caps. Look for trends like vertical tray organizers that are common in modern kitchen styling, and keep the finish simple so it blends with your decor.
4. Color-Code Your Glassware
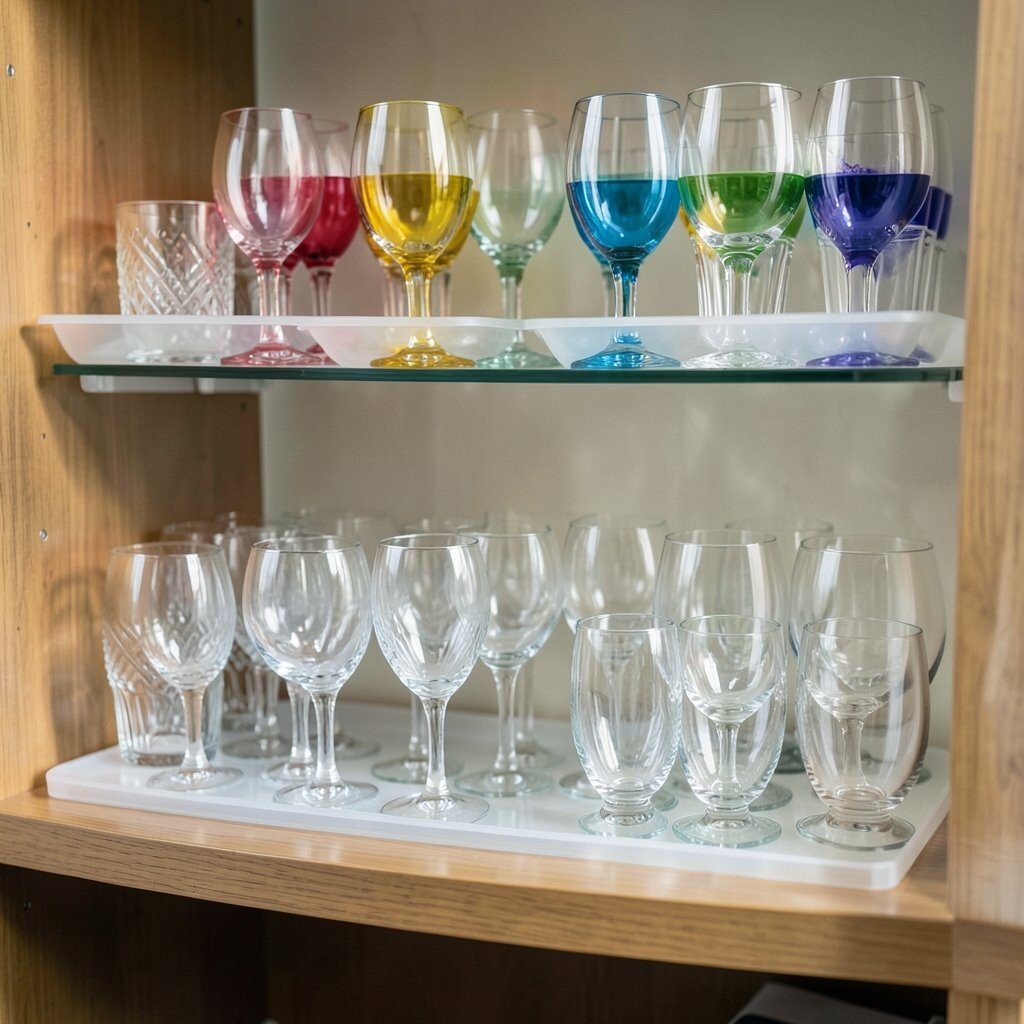
Even if your glasses are clear, you can still organize them in a smart way. Use fabric bands, coaster sleeves, or small tags to match each set to its drink type.
This makes your bar feel like a friendly system rather than a guessing game. You’ll also reduce the chance of grabbing the wrong glass during busy moments.
5. Install a Simple Door-Mounted Organizer
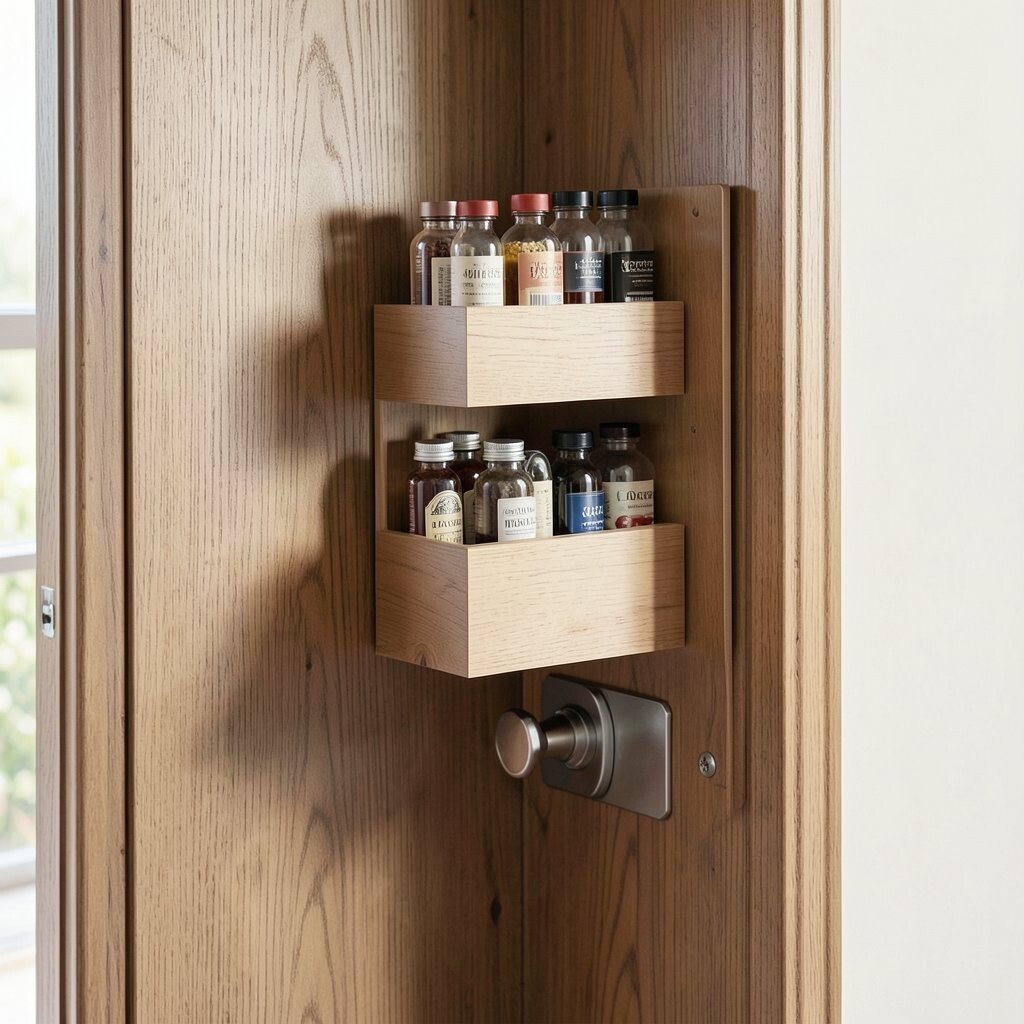
When you have limited counter space, the inside of a cabinet door becomes prime real estate. A door-mounted organizer keeps napkins, bar tools, and tiny accessories from taking over shelves.
Look for a magnetic strip, pocket organizer, or slim hanging rack that fits your hardware. It’s a popular current trend because it saves space while making storage feel intentional and easy to reach.
For personalization, place a small decorative label on each section using plain paper or removable tape. If cost is a concern, measure carefully and start with one affordable pocket organizer rather than buying multiple units at once.
6. Keep One “Pouring Station” Counter Clear
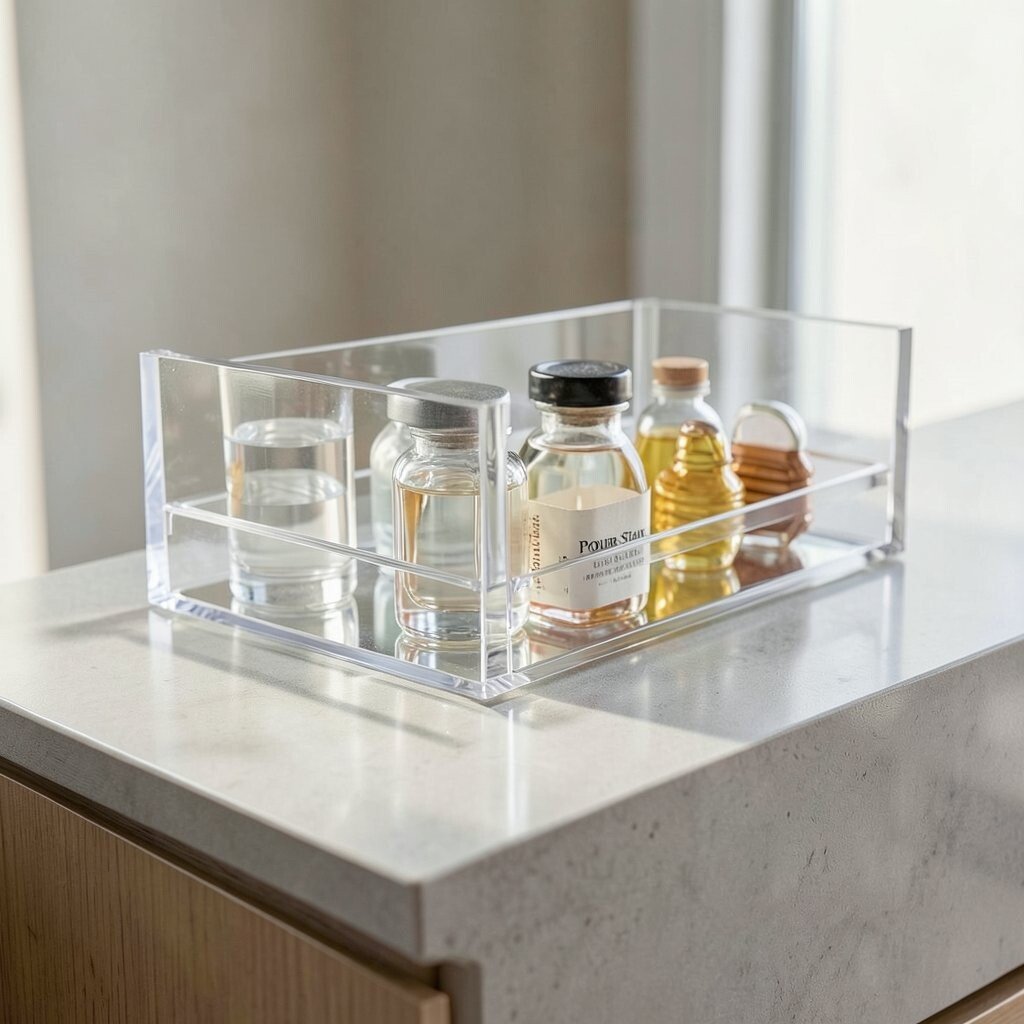
Decide what items belong on the counter when you’re actively serving. Put your favorite bottle, a jigger or measuring tool, and a coaster in a dedicated pouring station.
Everything else should live elsewhere so the surface stays calm. This reduces mess and helps you feel proud of how your mini bar looks, even between gatherings.
To make it personal, tailor the station to your routine, like adding flavored syrups for coffee drinks or a citrus zester if you do homemade garnishes. For cost, you can reuse small kitchen containers and repurpose a tray from another room.
7. Group Liquor by How You Use It
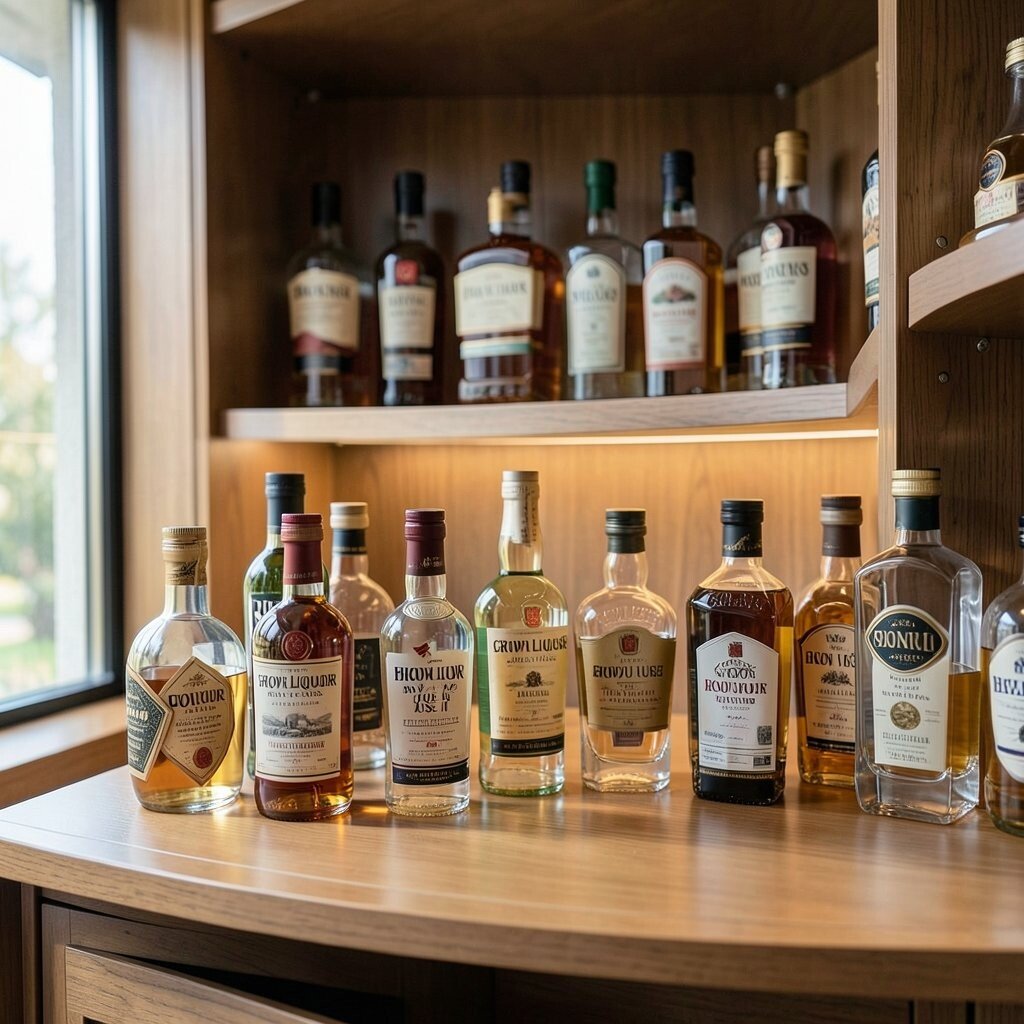
Not all bottles should sit next to each other just because they’re the same size. Group them by function, like base spirits, mixers, and ready-to-pour favorites.
This layout supports quick decisions when you’re making drinks, and it also makes your shelves look curated instead of random. Guests love it too because the bar seems well thought out.
8. Add a Catch-All for Garnishes
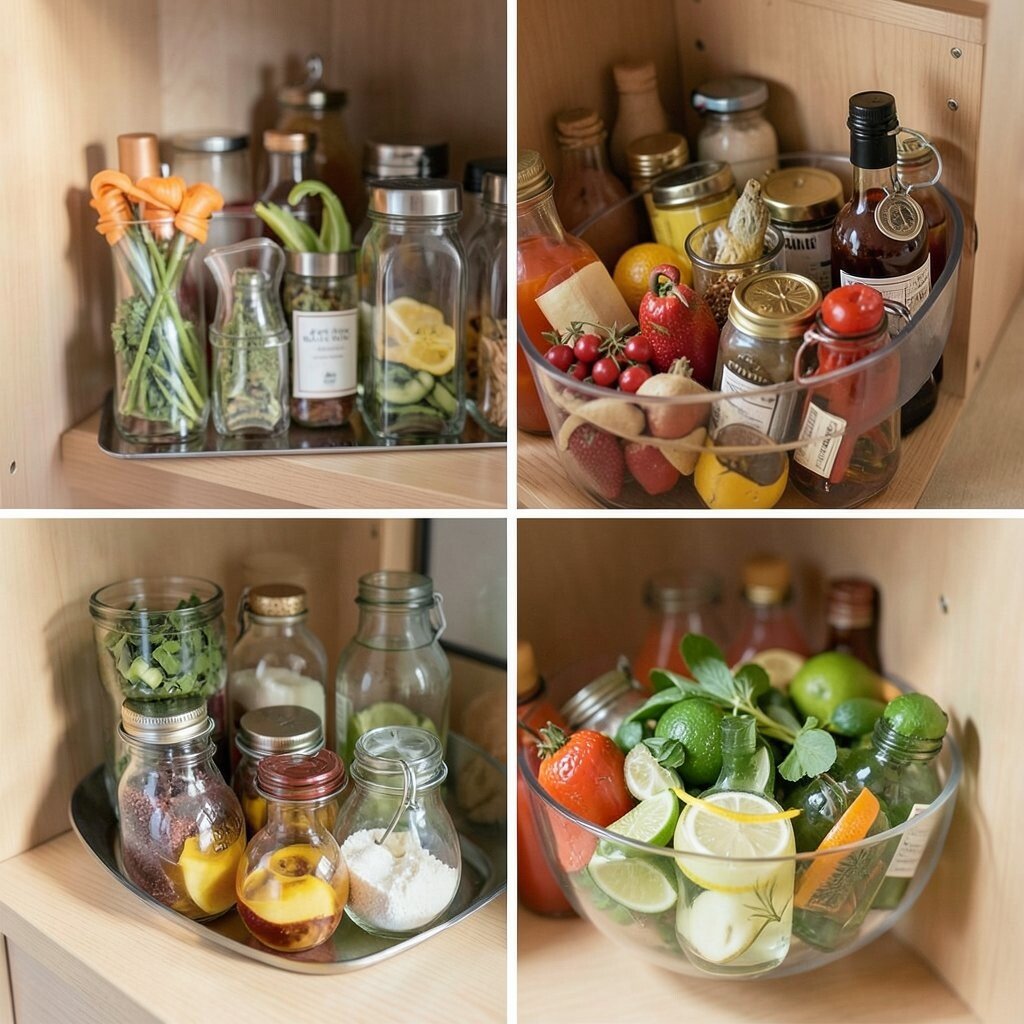
Garnishes create the fastest clutter, especially when you keep citrus, herbs, or cherries around. Use one small caddy or shallow bin that’s only for garnishes.
Whenever you bring out limes, mint, or stir ingredients, everything goes into that one container. That way, your bar stays neat even when you’re prepping.
Try lining the bin with a simple tray liner that wipes clean in seconds. If you want a trendier look, choose clear containers so your guests can see what’s available, but keep them capped or covered to avoid drying out.
9. Label Everything With Removable Tags
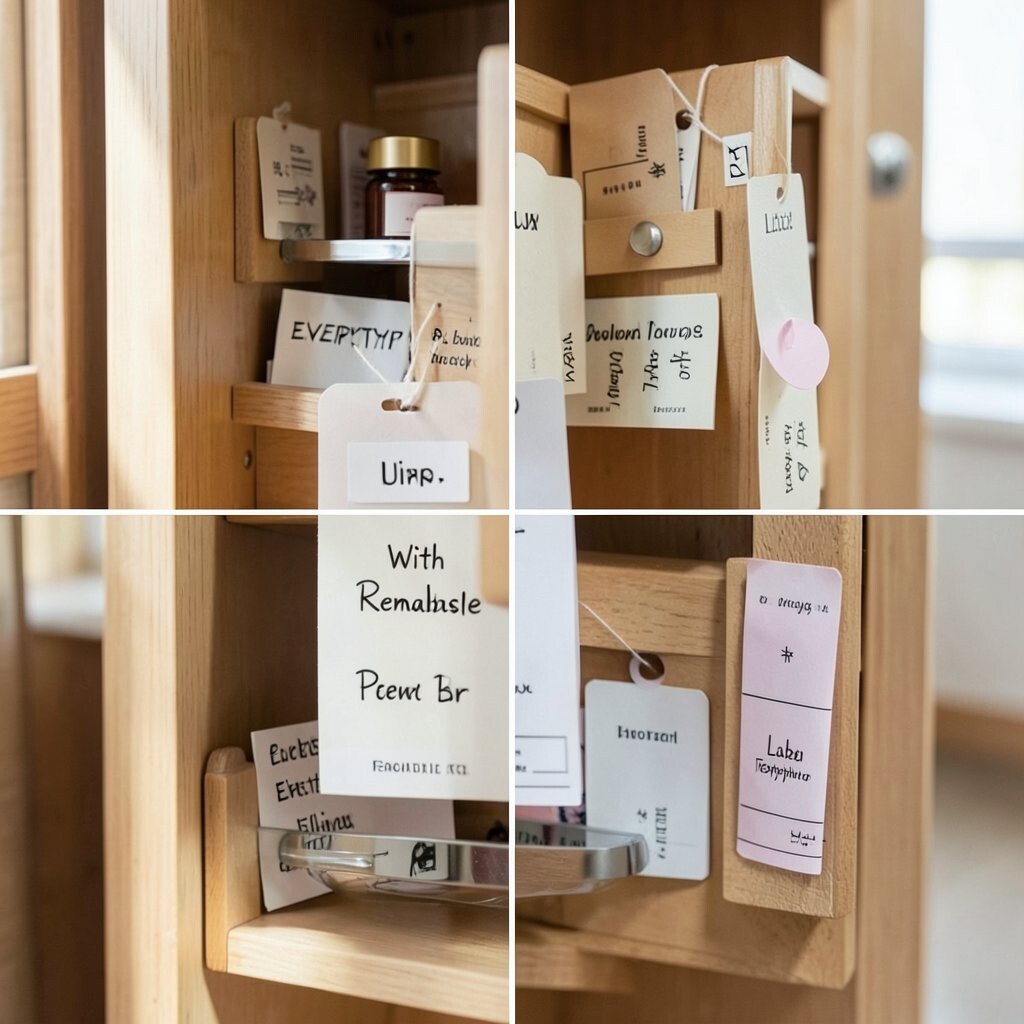
Labels help you and family members put things back exactly where they belong. Use removable tags so you can change your organization when seasons or drinks change.
You’ll save time, reduce clutter, and keep your bar from turning into a “mystery drawer” over time. Use handwriting, small printed stickers, or color dots so the labeling feels friendly rather than strict.
10. Use Coasters as Shelf Protectors and Style
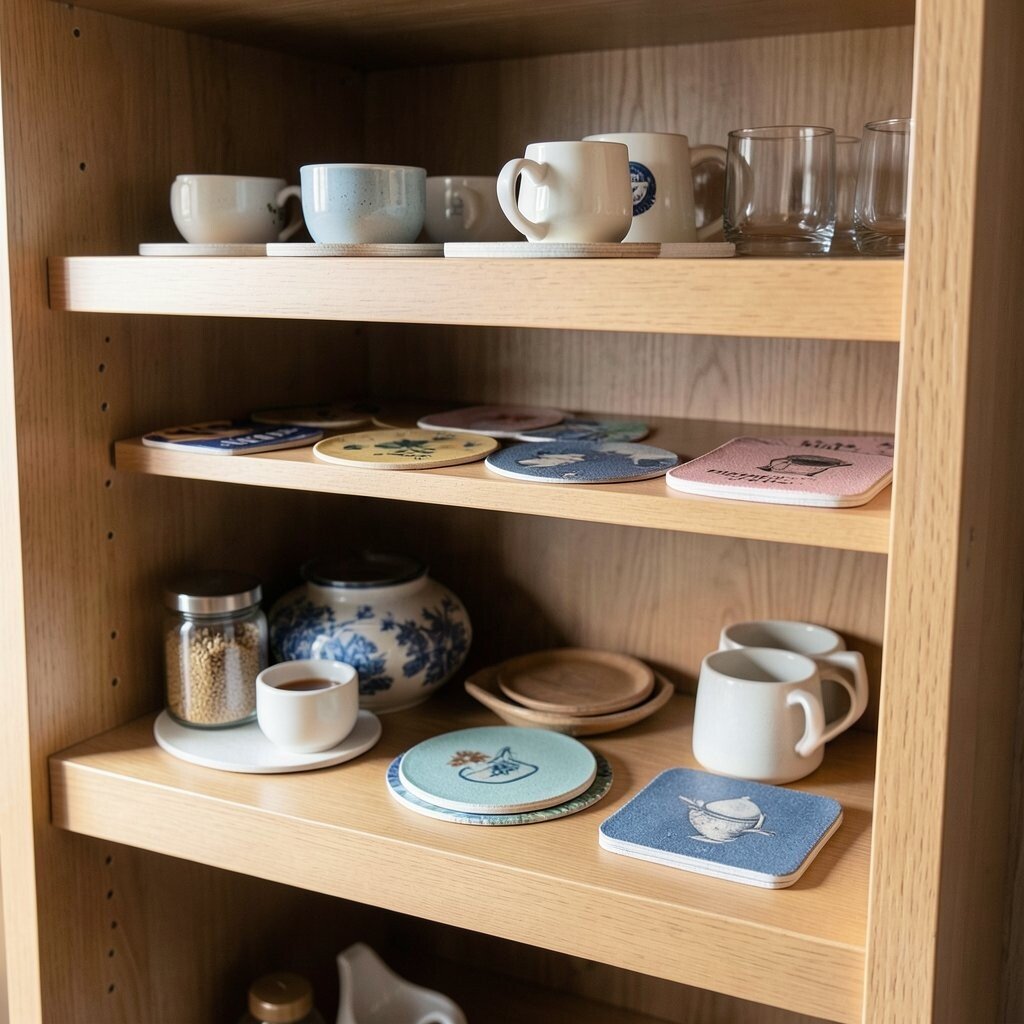
If your bottles or decanters sit on wood, coasters can quietly protect the surface while adding visual charm. Choose matching coasters or a consistent theme that ties into your room.
This creates a clean boundary and makes the whole mini bar look styled, not accidental. It’s also a simple upgrade that keeps rings and spills from damaging your shelf.
For personalization, go for a pattern that matches your kitchen or dining vibe, like subtle stripes or solid neutral tones. If you’re budgeting, buy a small set of durable coasters and rotate seasonal designs every few months.
11. Store Opened Mixers Upright With a Bin
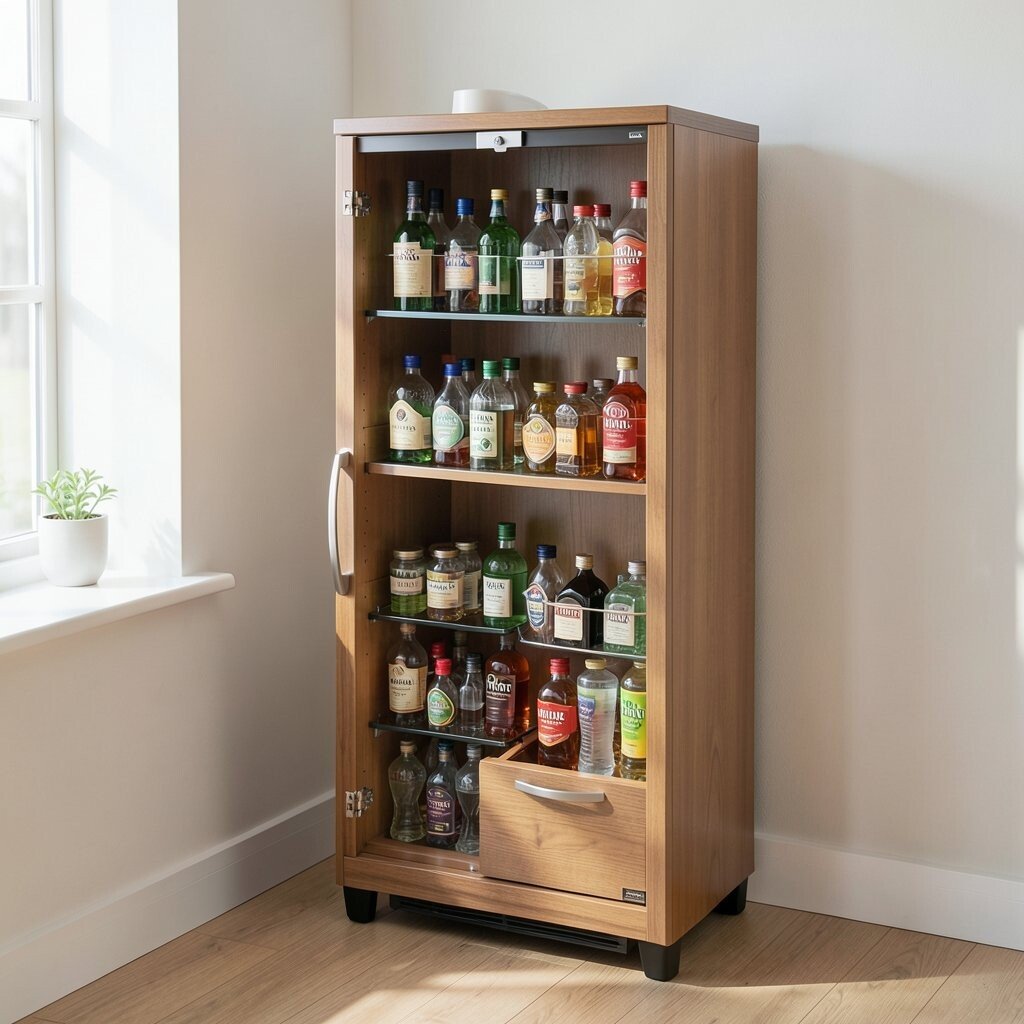
Opened mixers tend to spread out and hide behind bottles, which makes your bar feel messy. Keep them upright inside a narrow bin so they stand in one tidy line.
Choose a bin that’s easy to lift, because it will help you clean quickly and refill without stress. This keeps your mixers visible, and it supports a smooth drink-making flow during parties.
To personalize, separate mixers by drink style, like soda mixers on one side and cream or coffee mixers on the other. A trend right now is using clear, stackable containers for a tidy, modern look, and they’re often affordable when you start with just one bin.
12. Create a “Guest Ready” Mini Kit
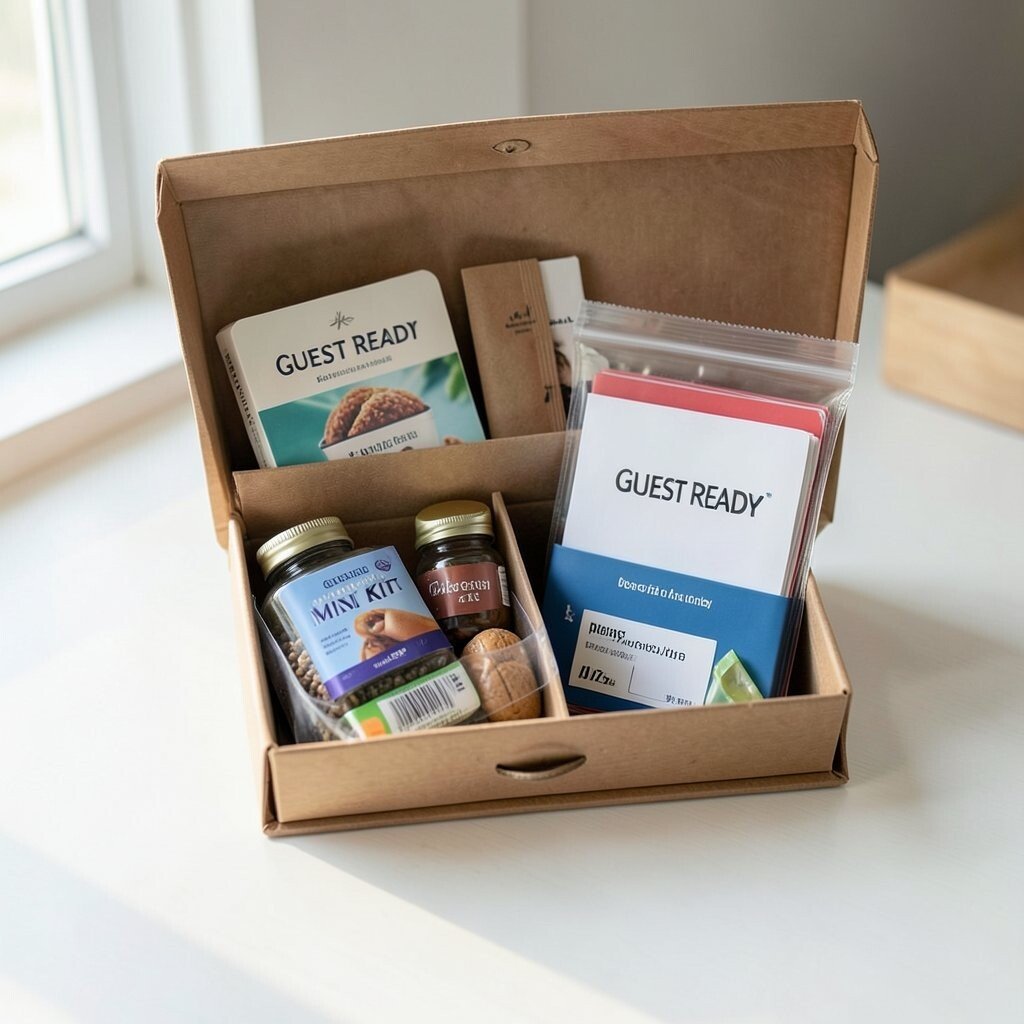
Have one small kit ready for when friends drop by unexpectedly. Fill it with essentials like straws, stirrers, extra napkins, and small packets of garnish or sweeteners.
Place the kit somewhere visible, but keep it contained so it doesn’t turn into clutter. When you host, you can pull out the kit and your whole space feels instantly prepared.
For personalization, build the kit around your favorite crowd, like adding non-alcoholic options or tea bags for cozy drinks. If cost is a concern, start with a basic small box and add items you already use, then upgrade only as your routine grows.